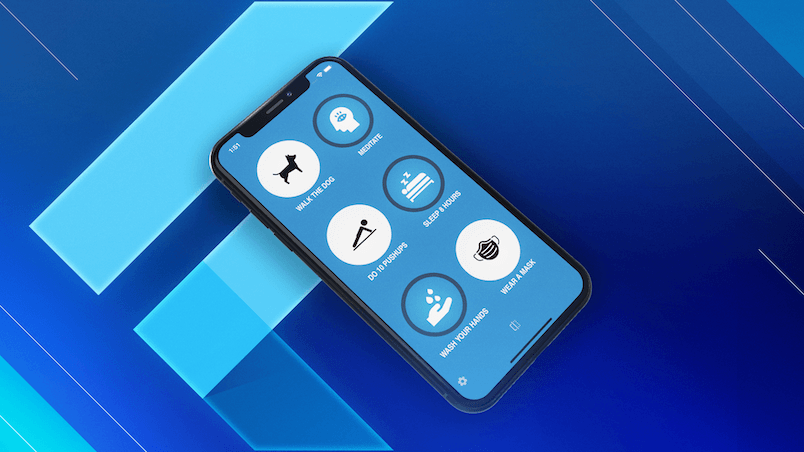
The app icon and app store screenshots are the first things people notice when browsing the app store.
A well-designed icon grabs attention and makes your app stand out. 💡
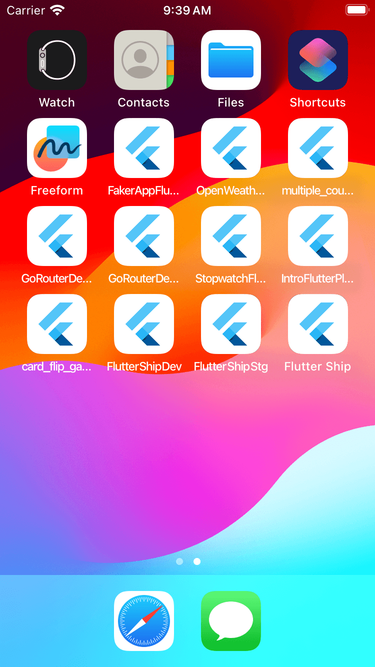
But let’s be real. If you’re a busy developer, designing the app icon is probably the last thing on your mind, and your home screen might look like this:
Good news: it doesn’t have to be this way. 👇
How to Design a Flutter App Icon in Figma
While having design skills is helpful, you don’t need to be a pro to create a simple app icon.
In this video, I’ll show you how to design a custom app icon from scratch—even if you’re new to design.
Summary
To help you follow along, here’s the app icon template I shared in the video.
Here’s a quick recap of the steps:
- Start with a 1000x1000px square for your icon background.
- Design the foreground by combining shapes. Group them and center them.
- For iOS icons, scale the foreground content to 75% of the total size.
- For Android icons, scale the foreground content to 50% of the total size.
- Android icons require separate foreground and background layers.
- Export your icons with
1024was the size selector.
Once you’re done, add the icons as assets to your Flutter project and generate the launcher icon using the flutter_launcher_icons package.
Extra tip: Importing FlatIcon icons into Figma
Want to save time? Search for icons on FlatIcon.
Once you find a suitable icon, export it as PNG or SVG and import it into Figma (remember to check the license!).
I recommend using SVG since it allows you to edit individual layers in Figma, though note that SVG export is a paid feature.
Wrap Up
As we’ve seen, creating a simple icon in Figma is fairly straightforward.
If you’d like to reuse my design, you can grab my template here.
Even better - you can use the Expo App Icon & Splash community template, which follows Apple’s and Android’s official design guidelines.
New course: Flutter in Production
Designing app icons is a small but important step in the app development process.
But when it comes to shipping and monitoring apps in production, there are many more things to consider:
- Preparing for release: splash screens, flavors, environments, error reporting, analytics, force update, privacy, T&Cs
- App Submissions: app store metadata & screenshots, compliance, testing vs distribution tracks, dealing with rejections
- Release automation: CI workflows, environment variables, custom build steps, code signing, uploading to the stores
- Post-release: error monitoring, bug fixes, addressing user feedback, adding new features, over-the-air updates
My latest course will help you get your app to the stores faster and with fewer headaches.
If you’re interested, you can learn more and enroll here. 👇