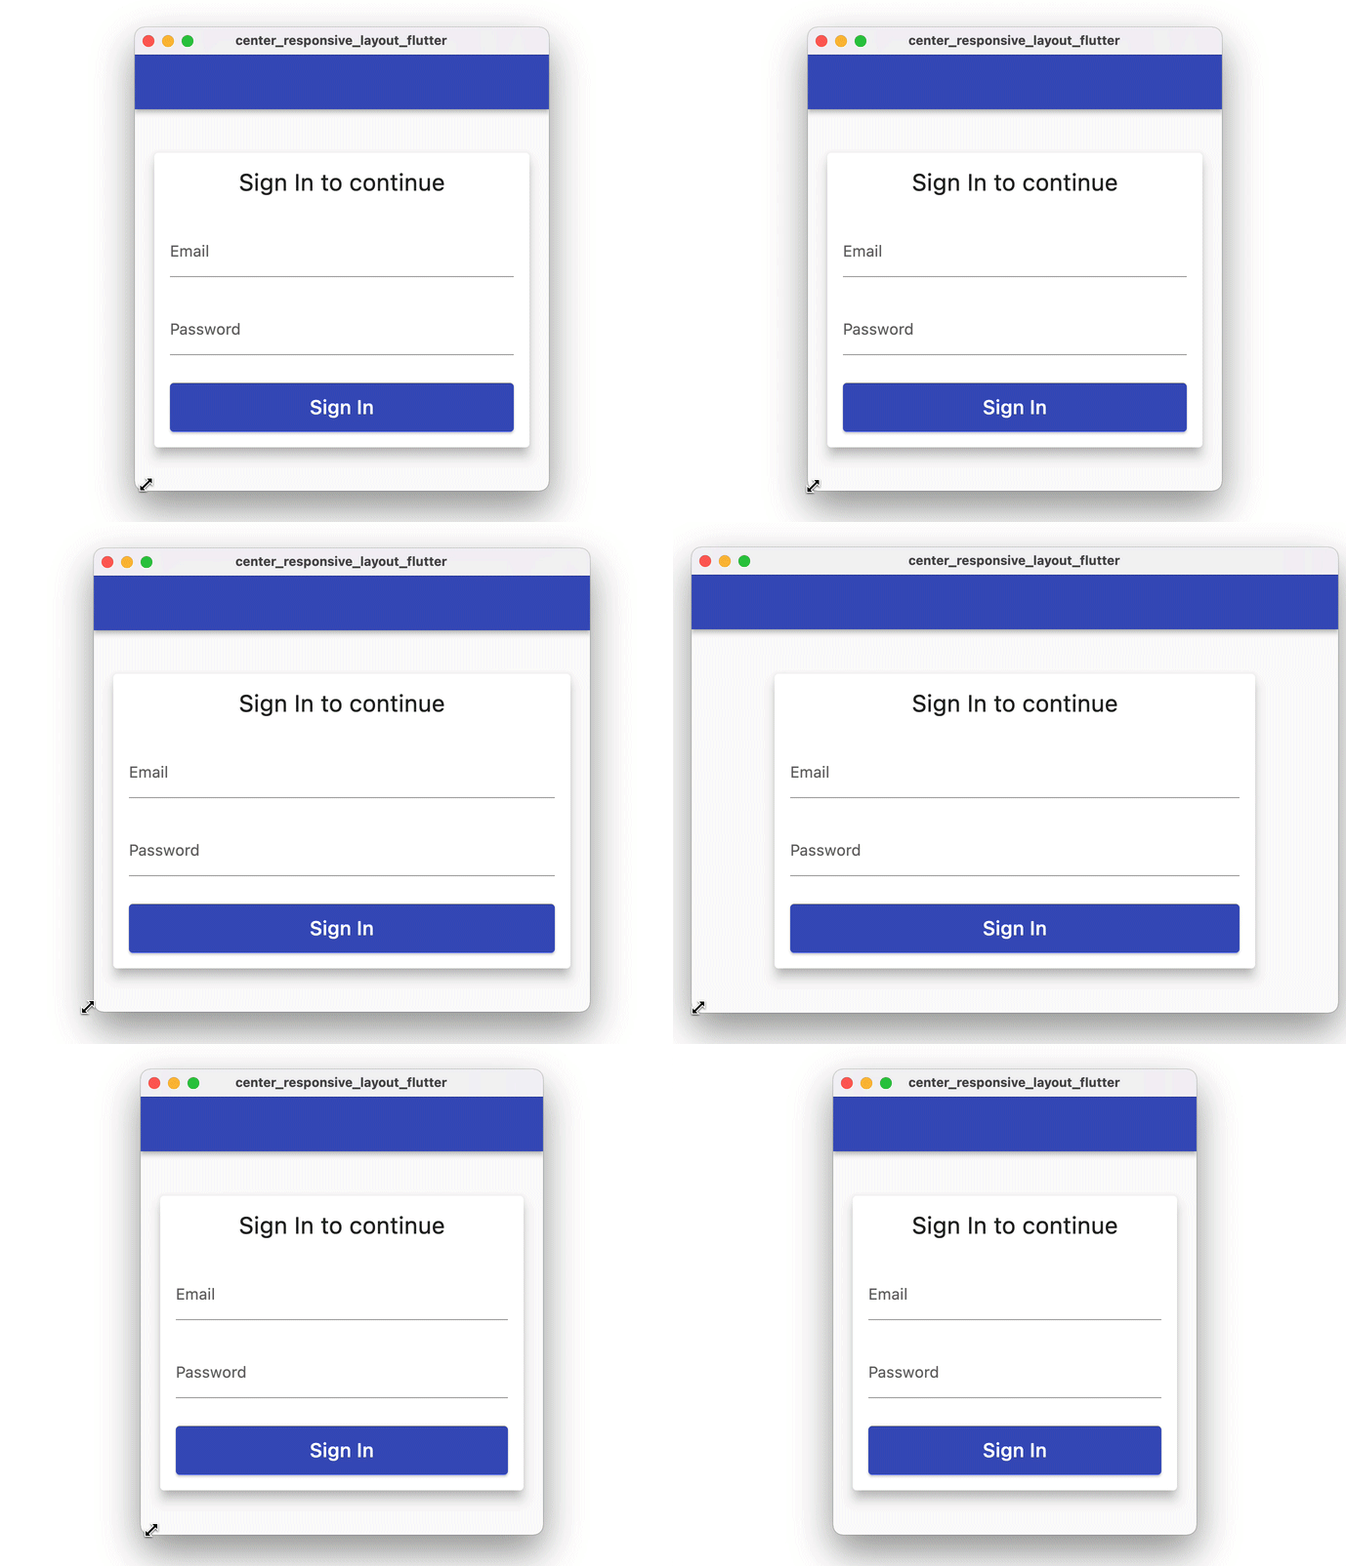
How do you create a Flutter card layout that grows horizontally up to a given width and then remains fixed at that width, like in this example?

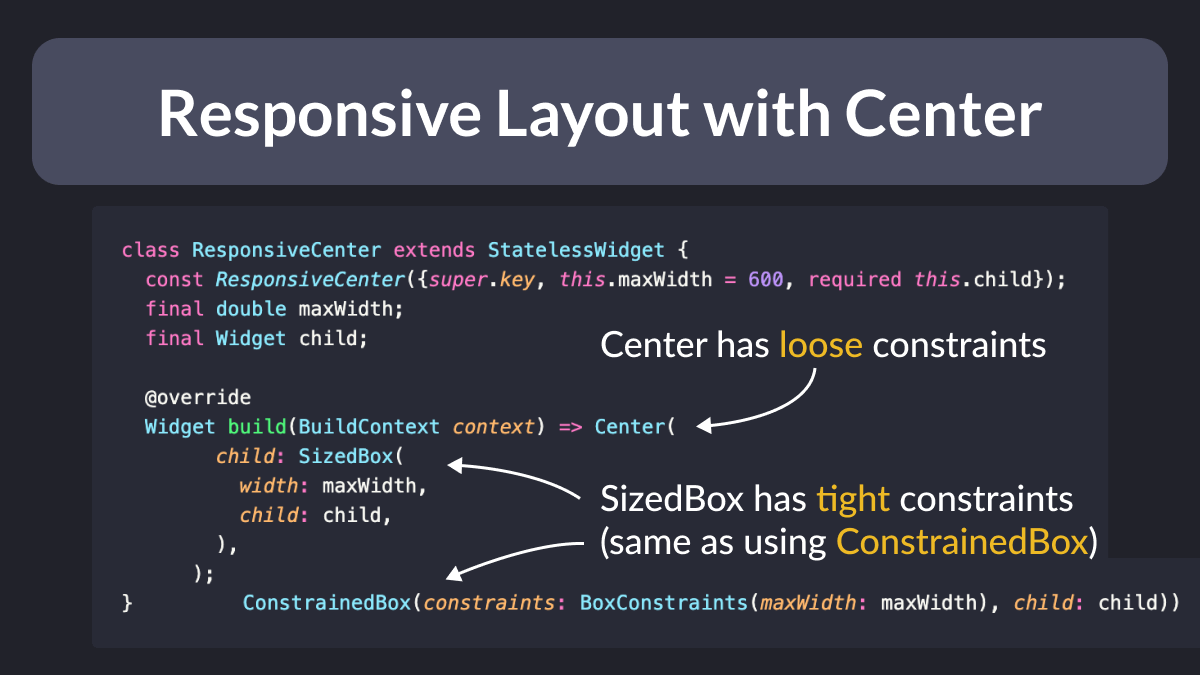
This can be done by composing Center and SizedBox widgets like so:

class ResponsiveCenter extends StatelessWidget {
  const ResponsiveCenter({super.key, this.maxWidth = 600, required this.child});
  final double maxWidth;
  final Widget child;

  @override
  Widget build(BuildContext context) => Center(
        child: SizedBox(
          width: maxWidth,
          child: child,
        ),
      );
}
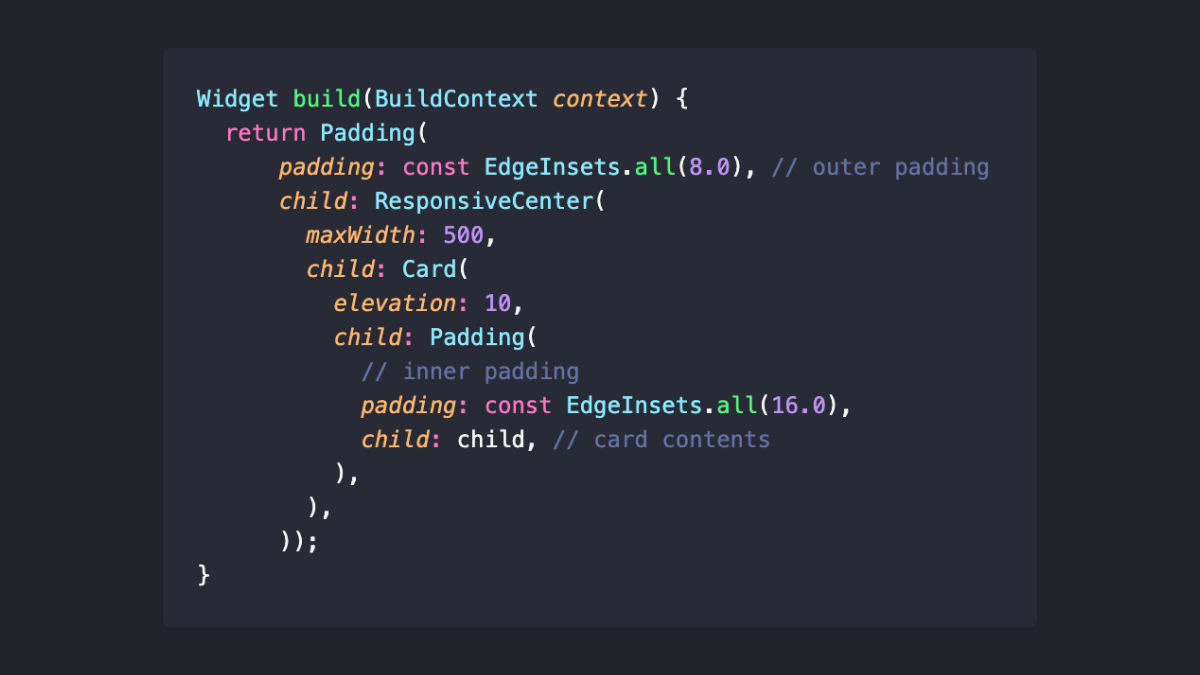
Then, to recreate the card layout from above, you can use this code:

class CenteredCardLayout extends StatelessWidget {
  const CenteredCardLayout({super.key, required this.child});
  final Widget child;

  @override
  Widget build(BuildContext context) {
    return Padding(
        padding: const EdgeInsets.all(8.0), // outer padding
        child: ResponsiveCenter(
          maxWidth: 500,
          child: Card(
            elevation: 10,
            child: Padding(
              padding: const EdgeInsets.all(16.0), // inner padding
              child: child, // card contents
            ),
          ),
        ));
  }
}
Tight and Loose Constraints
Why does this work?
Well, it's all about tight vs loose constraints:
Centerhas loose constraintsSizedBoxhas tight constraints
Combine them together for fun and profit.
Going Further with ResponsiveCenterScrollable
The ResponsiveCenter widget works well for simple use cases without scrollable content.
But if you want to use the same technique with scrollable widgets (such as a ListView), you'll need to do some extra work.
To make life easier, I created a ResponsiveCenterScrollable widget that you can use in your projects:
class ResponsiveCenterScrollable extends StatelessWidget {
  const ResponsiveCenterScrollable({
    super.key,
    this.maxContentWidth = 600,
    this.padding = EdgeInsets.zero,
    this.controller,
    required this.child,
  });
  final double maxContentWidth;
  final EdgeInsetsGeometry padding;
  final ScrollController? controller;
  final Widget child;

  @override
  Widget build(BuildContext context) {
    return Listener(
      onPointerSignal: (pointerSignal) {
        final c = controller;
        if (pointerSignal is PointerScrollEvent && c != null) {
          final newOffset = c.offset + pointerSignal.scrollDelta.dy;
          if (newOffset < c.position.minScrollExtent) {
            c.jumpTo(c.position.minScrollExtent);
          } else if (newOffset > c.position.maxScrollExtent) {
            c.jumpTo(c.position.maxScrollExtent);
          } else {
            c.jumpTo(newOffset);
          }
        }
      },
      child: Scrollbar(
        controller: controller,
        child: Center(
          child: ConstrainedBox(
            constraints: BoxConstraints(maxWidth: maxContentWidth),
            child: ScrollConfiguration(
              behavior:
                  ScrollConfiguration.of(context).copyWith(scrollbars: false),
              child: Padding(
                padding: padding,
                child: child,
              ),
            ),
          ),
        ),
      ),
    );
  }
}
Here's a full Dartpad example showing how it works:


