This is a free lesson from my Flutter Animations course, where you'll learn how to build a completely custom habit tracking app.
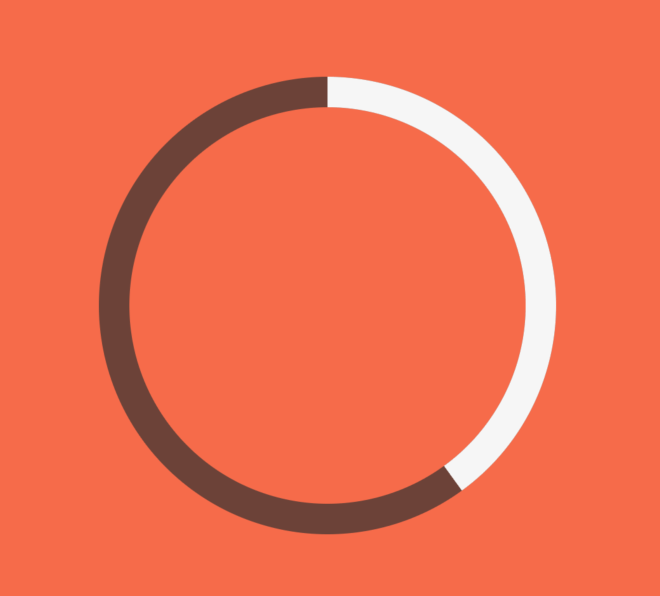
In the previous lesson we have learned how to draw a "static" task completion ring:

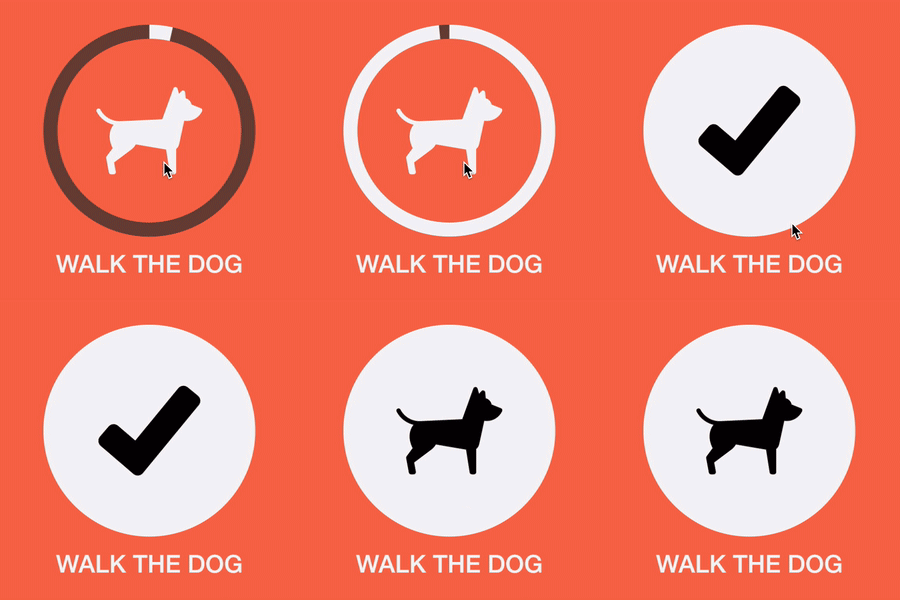
But our goal is to bring this to life with some animations:

Enter AnimationController
The animation above can be started, stopped, and reset to its initial value, and is known as an explicit animation.
And in Flutter, we use an AnimationController to create explicit animations. This video explains how:
TL;DR: Here's how to create and configure an AnimationController:
// 1. Create a StatefulWidget
class AnimatedTask extends StatefulWidget {
  @override
  _AnimatedTaskState createState() => _AnimatedTaskState();
}

class _AnimatedTaskState extends State<AnimatedTask>
    // 2. Add SingleTickerProviderStateMixin
    with SingleTickerProviderStateMixin {
  // 3. Declare an AnimationController
  late final AnimationController _animationController;
  @override
  void initState() {
    super.initState();
    // 4. Initialize it
    _animationController = AnimationController(
      vsync: this,
      duration: Duration(milliseconds: 750),
    );
  }

  @override
  void dispose() {
    // 5. Dispose it
    _animationController.dispose();
    super.dispose();
  }

  @override
  Widget build(BuildContext context) {
    // TODO: Use the AnimationController's value to set the progress:
    return TaskCompletionRing(
      progress: 0.6,
    );
  }
}
Setting up an
AnimationControllerrequires a lot of boilerplate code. This gets quite repetitive if you have a lot of widgets with explicit animations. This tutorial offers two possible solutions: How to reduce AnimationController boilerplate code: Flutter Hooks vs extending the State class.
Completing the animation code
Once we have created an AnimationController, we need to use it in the build() method. This lesson covers all the details:
Here's the completed code:
// 1. Create a StatefulWidget
class AnimatedTask extends StatefulWidget {
  @override
  _AnimatedTaskState createState() => _AnimatedTaskState();
}

class _AnimatedTaskState extends State<AnimatedTask>
    // 2. Add SingleTickerProviderStateMixin
    with SingleTickerProviderStateMixin {
  // 3. Declare an AnimationController
  late final AnimationController _animationController;
  @override
  void initState() {
    super.initState();
    // 4. Initialize it
    _animationController = AnimationController(
      vsync: this,
      duration: Duration(milliseconds: 750),
    );
    // 5. Forward the animation
    _animationController.forward();
  }

  @override
  void dispose() {
    // 6. Dispose it
    _animationController.dispose();
    super.dispose();
  }

  @override
  Widget build(BuildContext context) {
    // 7. return an AnimatedBuilder
    return AnimatedBuilder(
      // 8. pass the AnimationController as an input
      animation: _animationController,
      builder: (BuildContext context, Widget? child) {
        // 9. Return a widget that is configured
        // with the AnimationController's value
        return TaskCompletionRing(
          progress: _animationController.value,
        );
      },
    );
  }
}
This code works and makes the animation start programmatically every time we hot-restart:

But what we really want is to make things interactive, so that the animation can be triggered by the user.
And this is covered in my Flutter Animations Course. 👇
Flutter Animations Course
If you're serious about animations and want to learn how to use them in a real-world app, check out my complete Flutter Animations course.
This will teach you how to build a habit-tracking application with completely custom UI and animations. And it includes 7 hours of in-depth content, full source code, extra challenges & much more.

Happy coding!


